Tuesday, April 02, 2013

Galaxy Inspired Bracelets


Are you into the whole Galaxy trend lately. I found these beads a while ago and knew I wanted to pair them with gold beads, so when I FINALLY found them this past weekend, magic happened. These are really simple to make...
All you need are some of your favorite beads...if you can find some galaxy looking ones all the better! 
String them all on to a stretch cord. I prefer a 1mm sized cord. Then knot the ends together, there is actually a special double knot you should do, that gets tighter the more you pull of it, but, I usually just use cement glue before I double knot it. I have never had an issue thus far. 


Here is another variation! 


Sunday, March 31, 2013

DIY for a Makeup/Small Bag

Super cute and easy to make Fabric Flower Bag with Pearls and Rhinestones. 


I finally got around to making a tutorial for Cut Out and Keep. Life threw lots of lemons my way and prevented me from making this sooner, but, alas here is one of the many tutorials I hope to share. It is for a small bag which you can use for makeup or as a small bag to take with on the go. Tutorial below. 


Here are the materials
A small bag (or whatever size you chose)
Some matching fabric for your bag. I used a twill because that is what I had, but something cotton works (use something that works with your glue) 
Flower Trim (or your own handmade fabric flowers)
Fabric glue (make sure it works with your fabric) 
Fabric Scissors
Monofilament Jewelry Cord 
Rhinestone Trim 
Pearls 
Crimp Beads (preferably a color that matches your rhinestone trim)
Cement Glue (not pictured)

Things pictured that I did not use
Various jewelry making tools
Jump Rings 
Gold Beads 


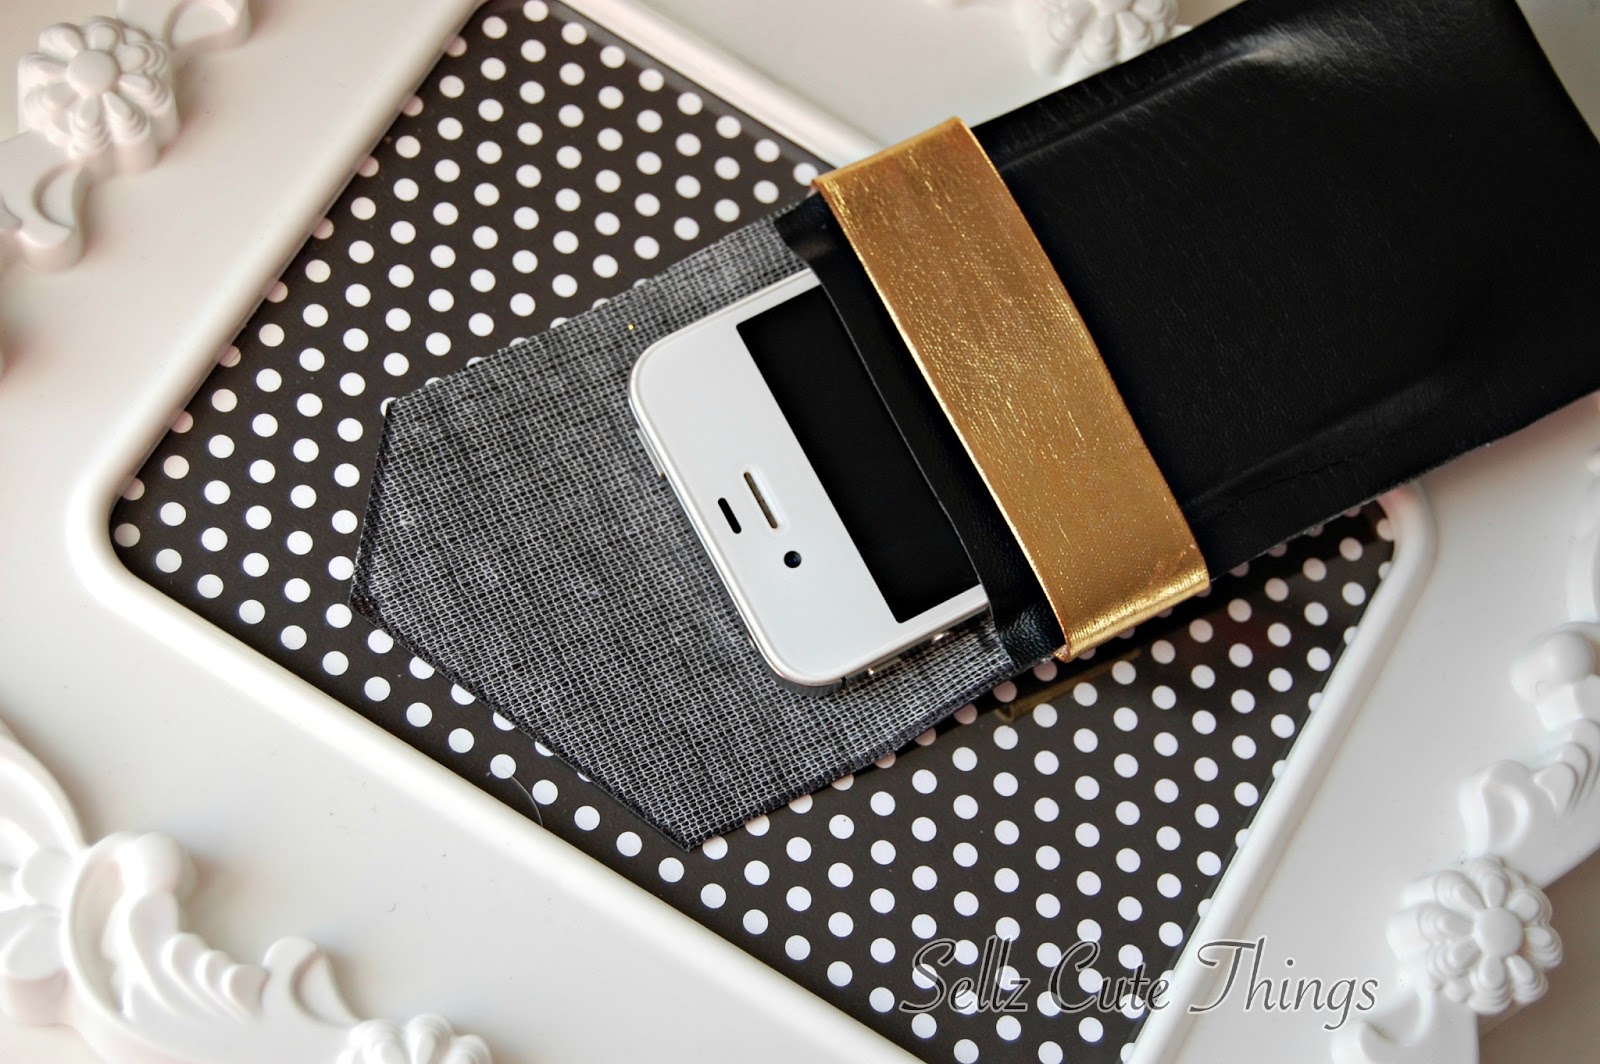
Use your black fabric (or whatever color you chose) and glue it to the inside of your little pouch/bag. The easiest way to do this is to put some glue on the fabric then carefully slide it into the bag. Press down gently to attach both materials. The blue lines on the picture above illustrates the size of the fabric you want to cut out and where the glue should be. It does not have to be perfect, just make sure the sides are glued down. 


Make sure you get this edge of your fabric glued down well. So it does not get caught in the zipper. It will also prevent your from accidentally dropping things in there.  


Next, get your fabric flower trim ready. I purchased this trim at an embellishment store. You could also make these flowers yourself, if you know how to. I cut the trim into three sections of four flowers each. Measure yours out to see what adjustments, if any, you need to make. 


Get ready to start gluing. Fabric glue works best and it dries super fast. 


You only need to glue the middle of the flowers, no need to use elsewhere and make a bigger mess. 


Glue your first row. 


This is what it looks like. Not too close to the edge, again, so it doesn't get caught in the zipper. 


Second row. 


Third row all done. 


Now, you can leave it like this, it is super cute and useful like so, but I have gone ahead and made good use of those two clasps on the end of the original pouch. 


First I attached some Rhinestone trim. Add as many or as little as you want. Just make sure it is long enough to slip your hand through. I used monofilament cord to attach it. See the picture below. 


This cord is super strong and easy to work with. After you knot it add some cement glue to secure the knot. 


For the pearl strand I also used the monofilament cord. After I knotted it, I added a crimp bead...


Then I crimped it. (Is that even the right terminology? jaja)


String on your pearls, knot the other end with a crimp bead also and you're done! 

Sunday, January 27, 2013

Buddha makes an appearance


I made a few Ombre bracelets and was really happy with the outcome.


(above) Ombre without the Buddha bead.


(above) Ombre around the wrist.


(above) Ivory Pearls with small gold seed beads.


(above) White Pearls in Varying sizes with gold seed beads.


(above) Aqua and Gold and Aqua with iridescent white pearl seed beads. 


When I saw these in the bead shop I fell in love with the color. I had never seen another bead with this color. I have not been able to find a matching seed beads to add between each bead so, these beads just adorn my wrist as is. 

Saturday, January 26, 2013

Pearls, Gold Beads and Stretch Cord


I made some jewelry in the last 24hours and wanted to share. I either can't find my cement glue or have run out of it, which prevented me from securing my knots. So, there are strings all over these pieces since I couldn't finish them completely. But the jewelry still looks really cute.


I love these earrings. I think they are my favorite. I used this tutorial to make them. 


This is a slight variation I made to the earrings. All I did was change the bead that ends up in the middle. 


Black bead stretch bracelets. There are three variations, one with silver, another with taupe beads and the third with white beads.


More stretch bracelets. These have taupe, silver, white, and a blue/black combination.


Taupe and Gold pearl bracelets. So gorgeous! I'll wear these together and individually.

And a lovely little necklace and bracelet set. The bracelet is stretch and the necklace was my first try at free-handing a wire piece. 

Hope you like and can find inspiration for your DIY Jewelry project(s)!

Friday, January 25, 2013

Tutorial for No Sew Phone Case or Wallet


This tutorial is for the case pictured above. It's my first "graphic" tutorial and I hope it makes sense. I'll be creating another tutorial using the actual materials for a different style in the next few weeks. Any questions, let me know! (feel free to share pictures with me of your own cases if you decide to try this)

I suggest you read through the instructions before starting, to fully understand where things get glued, and how to measure. 


 For the step pictured above. Choose your own ribbon, or create a short rectangle from fabric.

(for the step above) the green (or Lime colored, depending on your computer) lines show where the glue should be.

In case you can't read the small text on the bottom. *Please note phone is sticking out slightly in this graphic. It is suppose to fit all the way inside the pouch without sticking out.* 


Thursday, January 24, 2013

DIY Leopard Print Stud Earring Holder


Ok, So I was in need of an easy way to see and access my stud earrings. I looked online for ideas and looked around my house to see what I had on hand. I have a few wooden frame mirrors and tons and tons of paper. I merged the two and came up with this super cute stud earring holder. You can probably use this for any kind of earring, but dangle earrings tend to be heavier and might eventually rip the paper, if interested in doing so you may want to back the paper with something strong, like vinyl? or thin cork?

I used cardstock, its heavier and it shouldn't rip.
A close up of the studs. I though I had more, but my earrings seem to have disappeared.

Here is the back. I used mod podge to seal it in place. I was tempted to use a staple gun to secure the paper too, but lets see how the mod podge holds up. I pre-pierced the holes for the earrings with a paper piercer. (If you do so with the earring itself the paper tends to get creases.)